There were
quite a few requests to improve screenshots.
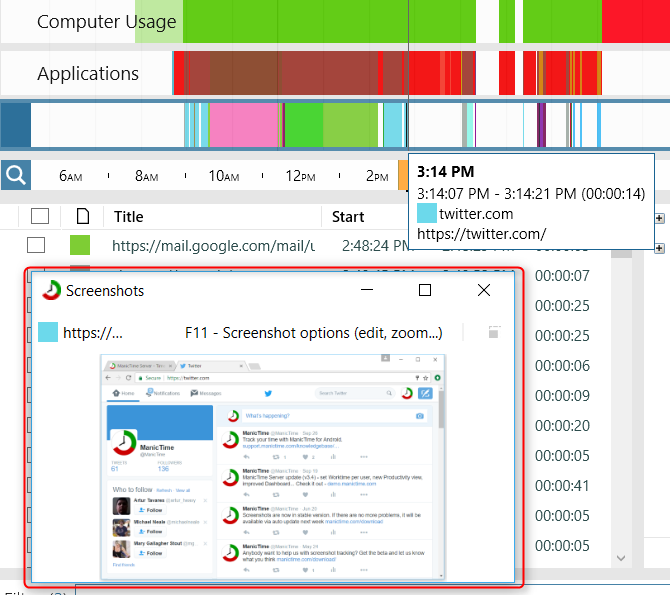
Screenshot viewer in separate window
You can now open screenshot viewer in dedicated window (
F12). Those with two or more monitors will find this one handy.
|
|
Screenshot viewer in another window
|
Zoom, edit, copy, next, previous, delete...
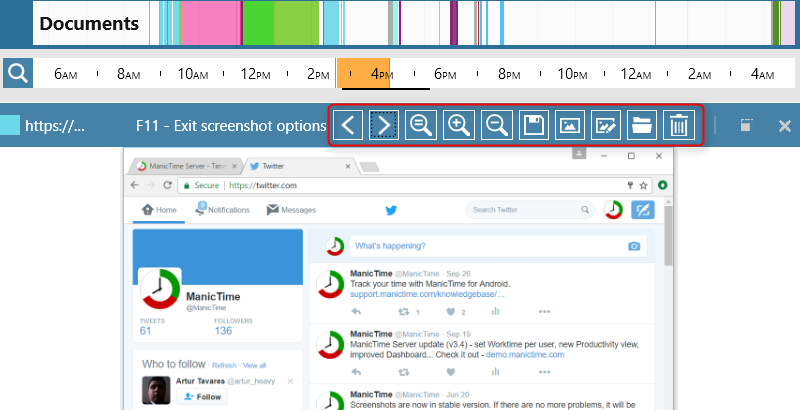
To get to the screenshot toolbar menu (zoom, edit, copy...), press
F11 while viewing a screenshot. This will freeze the screenshot, which will allow you to use the toolbar below.
|
|
Screenshot options
|
You can:
- Zoom - use mouse scroll to zoom
- Pan - hold down left button and drag
- Zoom 1:1 - zoom to native resolution
- Navigate to previous or next screenshot - left/right cursors keys or CTRL-mouse scroll
- Save as - opens a Save as dialog
- Open in default viewer - opens image in default viewer
- Open in default editor - opens image in default editor
- Delete screenshot - deletes the image from disk
Delete screenshots
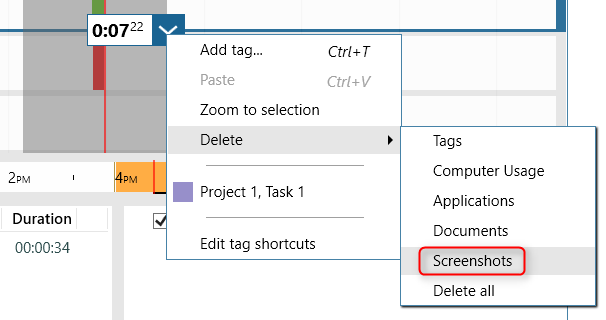
You can now delete screenshots by making a selection, then go to Delete -> Screenshots. Delete -> All will also delete screenshots.
|
|
Delete screenshots
|
Over the years we received quite a few support tickets, asking us how to get the usage data gathered while you were working on the timesheet.
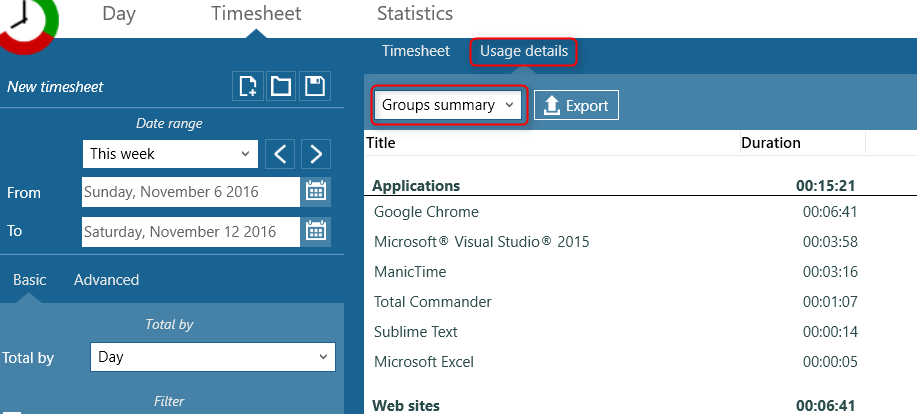
To get this report, just create a timesheet, then switch to tab "Usage details". This will create a report, which will include only activities tracked during the
time you were working on tags included in the timesheet.
You can group the report by Groups, Title, or just show all the activities without any grouping (Details).
|
|
Computer usage details during timesheet work
|
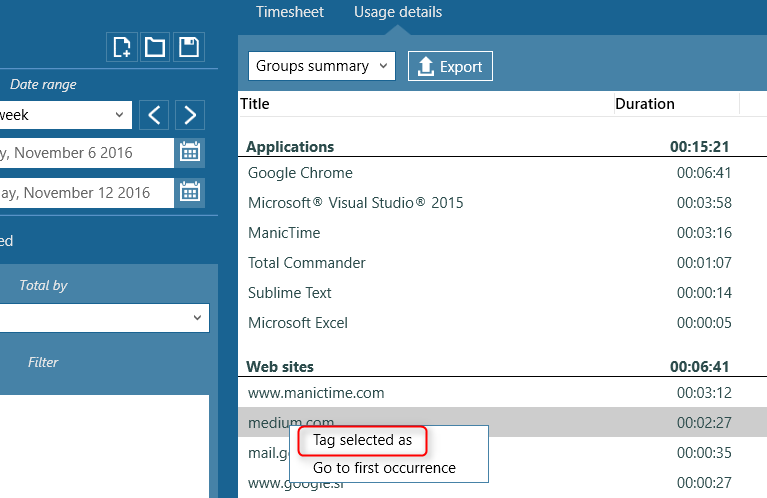
Sometimes you will incorrectly tag an entry. For example my medium.com visit below should not be part of the invoice.
To remove it from the invoice, all I have to do is right click on the entry and choose "Tag selected as".
Then tag it as something else and refresh the report.
|
|
Retag a usage to remove it from timesheet
|
If you'd like to know when some activity happened, click on "Go to first occurrence".
As
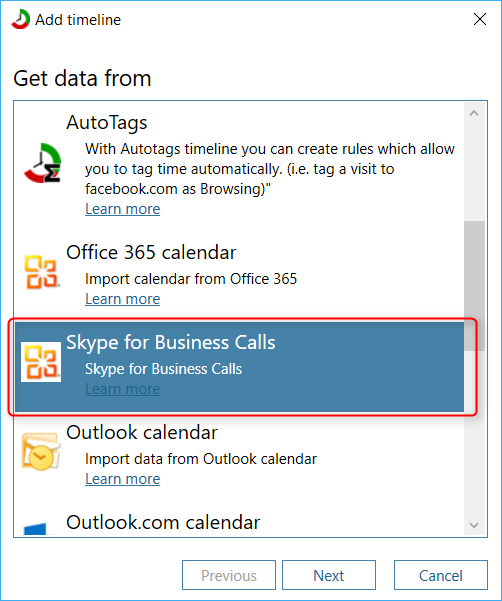
requested, we created a
plugin for Skype for business. To use it, go to Plugin manager, "More plugins" tab and install it. Then go to
Timeline editor (icon just above the timelines, in top left corner) and add Skype for business plugin.
After you add it, calls you made with Skype for business will show up on its own timeline.
|
|
Skype for business
|
Up until now ManicTime Server authentication relied on Windows, which means that ManicTime Server users were users defined in Windows.
This worked great if your users were part of the same domain, but it was not a great solution, if your users were not part of the same domain or
used Macs.
Upcoming server version (v3.5) will support ManicTime Server users and you will need this version to connect to the server which uses those users.


